
How to Install an eSIM on iPhone and Android (Step by Step)
Installing an eSIM takes about two minutes. Here's how to install an eSIM on iPhone, Samsung Galaxy and Google Pixel, and what to switch on when you land.
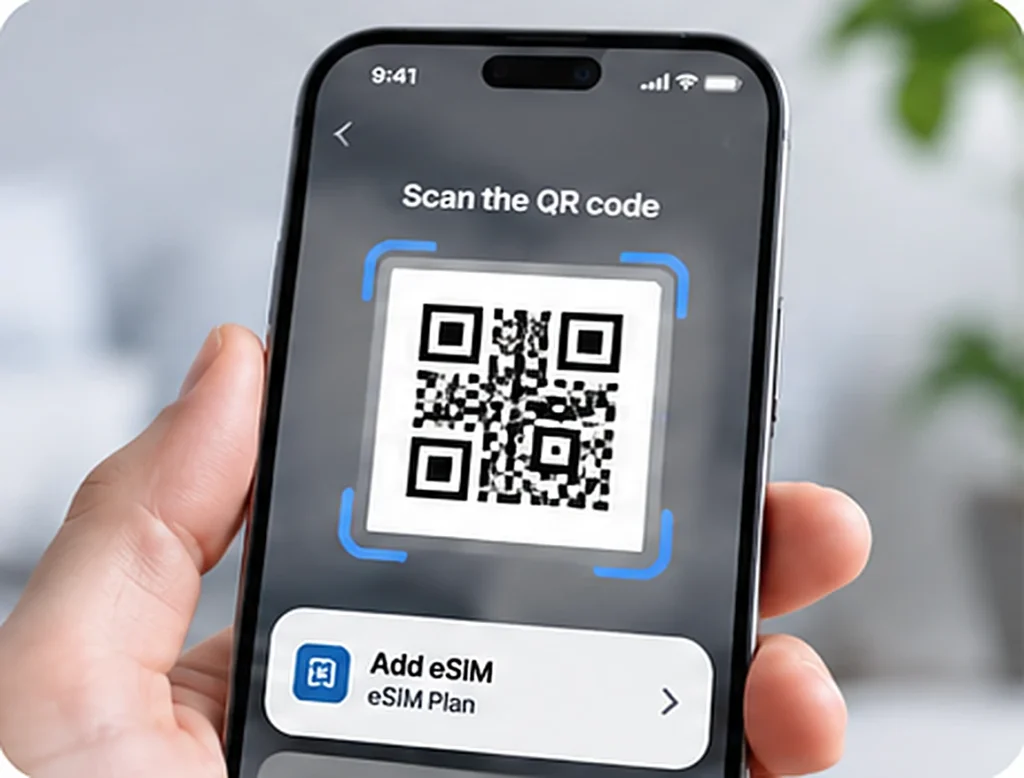
Installing an eSIM takes about two minutes. You scan a QR code, follow a few prompts and the new line shows up in your settings. This guide covers how to install an eSIM on iPhone and Android, and which settings to change when you land.
Before you start
Check these four things first:
- Make sure your phone supports eSIM and is carrier-unlocked. Not sure? Check your phone in 10 seconds.
- Connect to Wi-Fi, because the eSIM downloads over the internet.
- Open the QR code from your NOW eSIM email on another screen, or print it. If you only have one device, skip ahead to how to install an eSIM manually.
- Don’t delete the eSIM after you install it. Most QR codes can only be used once.
Tip: Keep the QR code email until your trip is over, in case you ever need the details again.
How to install an eSIM on iPhone
Here’s how to install an eSIM on iPhone XR and every newer model. Apple’s own guide to setting up eSIM on iPhone has more detail.
- Open Settings and tap Cellular (called Mobile Data or Mobile Service in some regions).
- Tap Add eSIM (or Add Cellular Plan).
- Tap Use QR Code and scan the QR code from your email.
- Follow the prompts, then give the new line a clear label, like “NOW eSIM”.
- Keep your home line as the default for calls and texts, and choose the NOW eSIM line for Cellular Data.
- Leave Allow Cellular Data Switching off, so your phone doesn’t use your home line for data.
The eSIM may show “No Service” until you arrive, which is normal.
How to install an eSIM on Samsung Galaxy
- Open Settings and tap Connections.
- Tap SIM manager, then Add eSIM.
- Choose Scan QR code and scan the code from your email.
- Confirm to add the plan, then name it “NOW eSIM”.
- In SIM manager, choose the NOW eSIM line for Mobile data and keep your home SIM for calls and texts.
How to install an eSIM on Google Pixel
- Open Settings and tap Network & internet.
- Tap SIMs, then Add SIM.
- If asked, tap Download a SIM instead?, then scan the QR code.
- Follow the prompts to finish, then set the eSIM as your mobile data SIM.
Menu names can be slightly different depending on your phone model and software version.
Google also explains how to install an eSIM next to a physical SIM in its help page on using dual SIMs on a Pixel phone.
How to install an eSIM manually
If you only have one phone, you can’t scan a QR code shown on the same screen. When your phone asks for a QR code, choose to enter the details manually instead, then type the SM-DP+ address and activation code that come with your QR code. Knowing how to install an eSIM manually also helps if your camera won’t focus on the code.
What to do when you land
- Turn on the NOW eSIM line if it’s off.
- Turn on Data Roaming for the NOW eSIM line. The eSIM connects to local partner networks, so roaming needs to be on for that line.
- Turn off Data Roaming on your home SIM to avoid charges from your regular carrier.
- Give your phone a minute to find a local network.
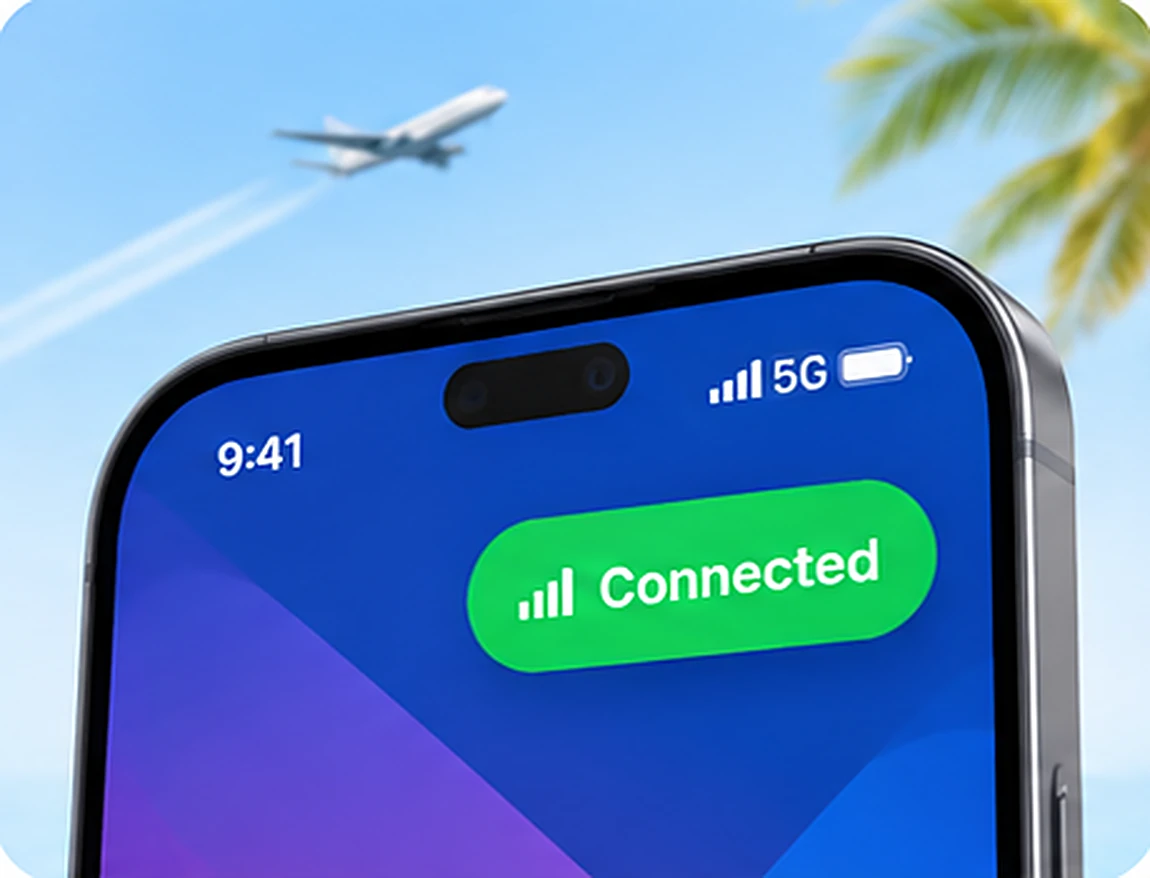
Traveling to more than one country?
If you bought a regional plan, you don’t need to do anything at the border. The same eSIM connects to a local network in each country the plan covers. Keep data roaming on for the eSIM line, and give your phone a minute to switch networks after you cross.
How to switch back after your trip
- Open your SIM settings (Cellular on iPhone, SIM manager or SIMs on Android).
- Set your home SIM as the line for mobile data again.
- Turn off the NOW eSIM line, or leave it off until your next trip if your plan still has days left.
- If you turned off data roaming on your home SIM, you can leave it off at home. It only matters abroad.
Troubleshooting
- No service after landing: check that data roaming is on for the eSIM line and that the eSIM is selected for mobile data. Then restart your phone.
- The QR code won’t scan: make sure you’re on Wi-Fi, turn up the brightness of the screen showing the code, or follow the steps above for how to install an eSIM manually.
- Connected but no internet: turn airplane mode on and off, then check that the eSIM line is selected for mobile data.
- Still stuck? Our install guide has the steps with pictures.
Frequently asked questions
Can I install the eSIM before I travel?
Yes, and that’s the easiest way. Install it at home on Wi-Fi a day or two before you fly, then switch it on when you land. You have 180 days from purchase to start using your plan.
Can I delete the eSIM after my trip?
Yes, once your plan has ended and you no longer need it. Don’t delete it before or during your trip, because most eSIMs can’t be reinstalled from the same QR code.
Will my WhatsApp number change?
No. WhatsApp stays linked to your regular phone number, even when you use the eSIM for data.
Can I install one eSIM on two phones?
No. Each eSIM installs on one phone, and most QR codes only work once. If you’re traveling as a family, buy one eSIM per phone. The steps for how to install an eSIM are the same on every phone, so one person can set them all up at home.
Ready for your next trip?
Pick your destination and how much data you need. Plans start at $1.15, and you can be online as soon as you land.
Keep reading

Now Travel eSIM: Mobile Data in 200+ Destinations
Now Travel eSIM is a prepaid data plan you install before you fly. You get mobile data as soon as you land in any…

eSIM vs Roaming vs Local SIM: The Best Way to Get Data Abroad
Roaming, a local SIM card or a travel eSIM? We compare what each one costs and how much setup it takes, so you can…
Does My Phone Support eSIM? How to Check in 10 Seconds
Most phones released since 2019 support eSIM. Here's how to check yours in about 10 seconds, how to tell if it's unlocked, and which…